We are officially less than one month away from Christmas! With Christmas being my absolute favorite holiday, I love transforming our home for the season. Over the last few years I have built up a little collection of decor and plan to keep collecting. If you love Christmas too, just remember it’s a marathon not a sprint, and it takes several years to build up your repertoire of decorations.
Today, we are going to walk through some very simple tips for decorating a Christmas tree. Not to mention, I am going to share my tree and some other Christmas trees to give you more examples of these tips when applied.
Let’s begin!
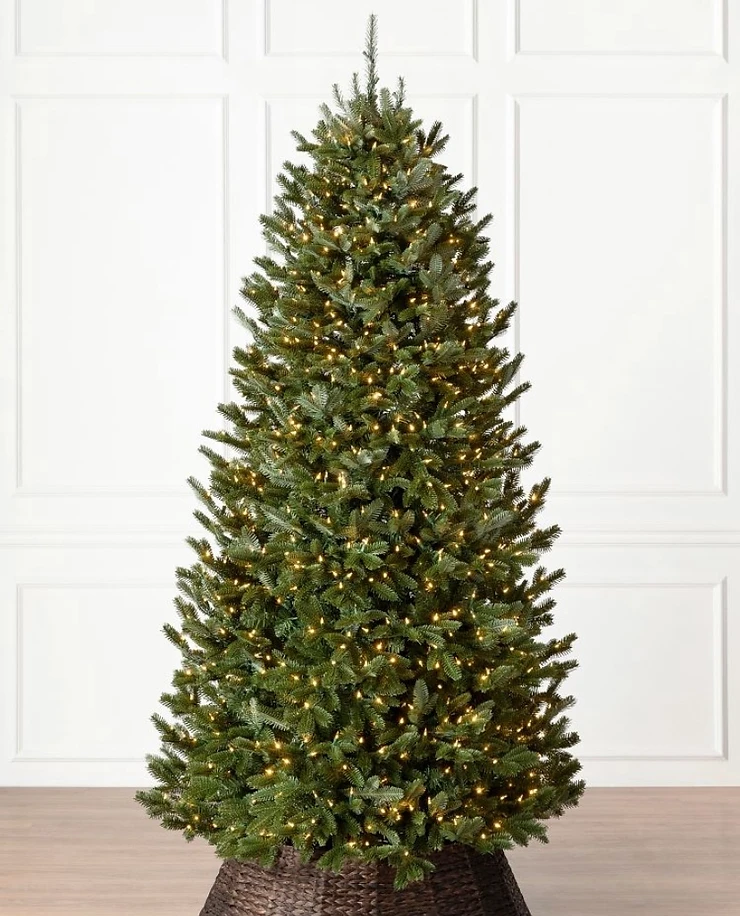
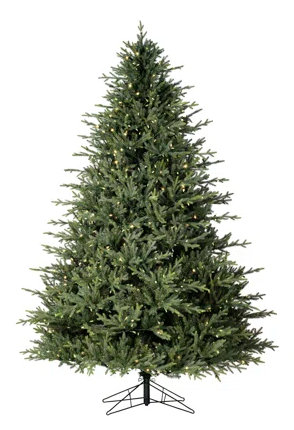
Fluff, Fluff, Fluff
If you are unaware, every tree you buy needs to be fluffed and when it’s brand new it needs a LOT of fluffing. You don’t need to buy an expensive Christmas tree to have a beautiful end result, but you need to fluff a tree if you are buying artificial.
A real tree obviously won’t need much help once you get it home, but do pay attention to any bald spots if you want that full Christmas tree.
Light it Up
When it comes to Christmas lights I always thought the trick was just more strands to get that gorgeous glow, but it’s really about the size and spacing of the lights. That is why a tree from one of those top retailers if more expensive, they often hand string the lights to optimize placement and hide the wires. You may also notice that many of those Christmas trees that look amazing with only a few or a lot of ornaments use micro LEDs or fairy lights. If you decide you want to buy a prelit tree or just upgrade your current one, consider not only the size and shape of your tree, but the type of lights used.
Choose a Color Palette
To get a Christmas tree that really captures the imagination, start with a color palette. You will need to keep in mind that in said color palette, you also want variation in the shades of the colors so you have depth and creat visual interest. You may love red and green for a traditional Christmas vibe, but it won’t be as amazing as you think if they all hit the same shade. My formula is to use 3-4 colors to create a palette and be sure to have some variation in shade for at least one of those colors. If I use 4 colors then make sure to vary the shades used for at least 2 colors.
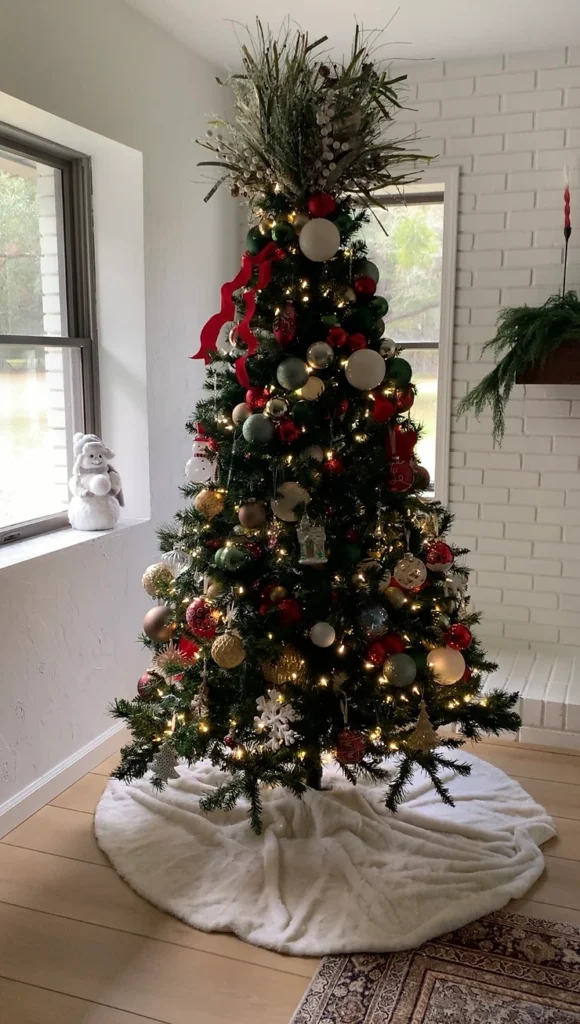
On my own tree this year, I used 4 colors. My tree colors are red, green, gold, and white. I varied the shades of green and gold and made sure to use the green as an accent. That’s the other key element to your color palette, one color should definitely play the supporting role while the others are more prominent.
Pro tip: when in doubt use a metallic like gold or silver for your third color. I promise that having a pop of gold or silver will take your tree from pretty to stunning.
Ribbons are Your Best Friend
You know what takes a tree over the top!? Ribbon.
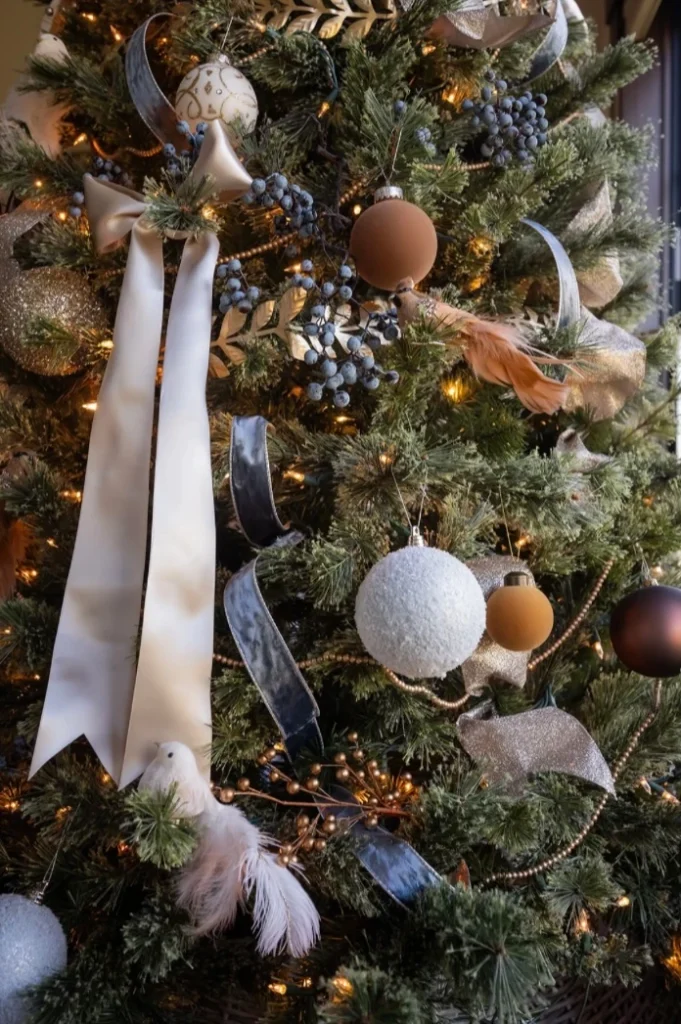
A quality ribbon can be an absolute game changer and make your tree extra special. Use a wired ribbon if you want to create fullness and have lots of control over placement. If you want a more subtle look, you can get smaller velvet or satin ribbon and tie bows onto the ends of your tree. You can usually get away with a 2.5” wired ribbon, but if you have a very large tree, you will want to consider 4” so the scale feels proportional.
The beautiful thing about ribbon is you have lots of options so, don’t be afraid to try a few things or mix things up.
Place Your Picks
Some folks suggest placing picks and sprays first, while others only like to use them as filler towards the end. Personally, I think if you do want to use picks it will make it easier to place those before you add in ornaments. So when you add picks doesn’t matter nearly as much from a decorating standpoint as it does from a practical standpoint.
There are two main reasons for using picks. You either want to add them in for decoration or you want to fill in sparse areas. However, I would argue picks and sprays should do both. Pick out picks that are going to fill but also serve as compliment decor for your tree color palette. Just be sure to buy and add in each style of pick in odd quantities.
Cluster Ornaments
I have noticed that an amazing tree has lots of depth and that means putting ornaments further into the tree, but also clustering some together. You can literally make clusters or just hang ornaments on a neighboring branch. Personally, I love many variations of ornament placement, but this year I decided to make my own garland out of my round ornaments.
The secret is to do your ornament garland in sections instead of one continuous piece. This will give you more control over placement and the overall look. Not to mention let you fill in more sparse areas. When you make your garland, incorporate several sizes and finishes for a very custom appearance. In my tree below, you can see how I used different sizes and finishes while adhering to my color palette.
Personal and Special Ornaments
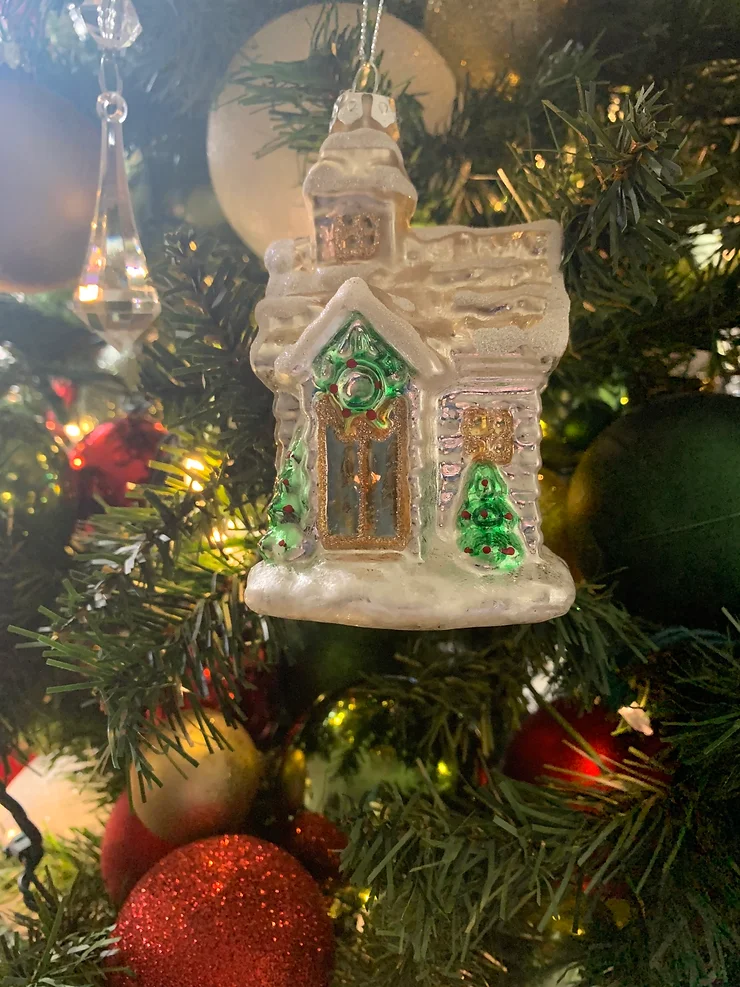
To make a tree extra special add in those personal ornaments. They can be silver photo frames filled with your favorite holiday memories or keepsakes from your childhood. Regardless of style, make these ornaments stand out by placing them in prime areas along the tips of your branches.
Don’t be afraid to place some in front of your round ornaments either. Your color palette serves as the perfect backdrop.

Tree Topper
Alright, I saved the tree topper for the end because many people like to do this as the last step. Regardless of when you place your tree topper, consider the final look you want to accomplish.
Some folks like to go the traditional route and place an angel or star. While others will mix things up and create their own topper out of picks and sprays. You can even do a little bit of both. Some may also want to top their tree with a giant bow. You are only limited by your imagination.
If you do want to create a tree topper out of picks and sprays to reinforce your color palette, just make sure when you select a pick for the topper you have no fewer than 4 of a kind. With no fewer than 4 varieties. So if you do that math, you need at least 16 total picks for your topper. The larger the tree the more you will need. however, if you buy those floral stems in your local craft store (the ones not in the Christmas section) you will usually find some of those are very large and full. If you get a large one you like that can count as two picks.
On my tree this year, I found such a pick to compliment the two smaller ones I had already grabbed in the Christmas section.
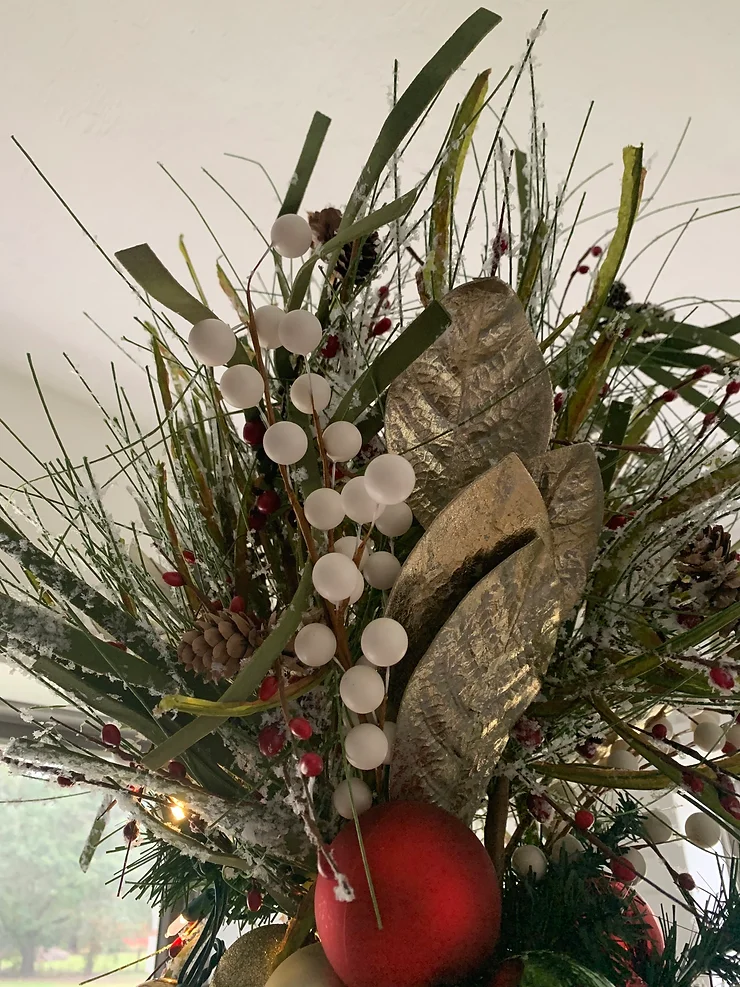
If you do choose to go with picks for your topper, I do recommend doing that first. It’s a real pain in the you know what, when you do this step with all of your decorations up. Things have a way of falling off or breaking!
When placing your picks be sure you are also alternating them so you create a bundle. Essentially, you are going to create a pattern all along your tree.
Start with one style and place all of them around the top. Ideally you start with the largest pick first. Then select your next pick style and place it next to the first one making sure to place that same style on the same side as the one before.
In the end, you will have little groupings of your picks that should look fairly uniform as you walk around your tree.
Conclusion
Just remember decorating a tree is meant to be fun. So enjoy the process along the way. I like tree decorating with some Christmas music in the background and I decorate over a few days in stages. I am a mom after all and I can’t take away an entire day to decorate. So enjoy the process and experiment with it! If you don’t love something change it up.
May your tree decorating be merry and bright!

From the time I was a young child, I have loved interior design and beautiful things. Ten-year-old me would create “floor plans” on notebook paper and design the dream homes of my siblings. We would have an initial meeting and after jotting down their wish list, I got to work creating the home of their dreams.
After designing the layout, I would take the Sunday newspaper ads (are those still a thing?) and cut out pictures of furniture, lamps, and accessories to create mood boards for each room in the home. When I was all done, weeks and weeks later, I would showcase my work and pitch my design ideas to a sibling.
If you too enjoy beautiful things and the process of turning a vision into a reality, welcome! If you love watching homes transform, but just don’t know how to start or have the resources to buy everything you like, stick around. I love finding affordable and practical design solutions to give YOU a gorgeous home you can be proud of.
Together, let’s reveal what’s possible.
Kinsale Home is a place to get inspiration and tips for your next project. No matter the size of your budget, design needs to be personal and practical. Join along for beautiful, family-friendly weekly inspiration and design advice.

